Introduction
With the amount of information coming my way every day across many fields, handwritten notes scattered everywhere and never reused, and the recurring hassle of solving a problem for the umpteenth time without remembering the solution, just like every time before. 😆
I was missing a tool to act as a second brain 🧠, so that all these notes and already solved errors would be gathered in one place.
The need was therefore there, with mandatory requirements that took shape over the various tests:
- Quick to access
- Pages written in Markdown
- Lightweight tool
- Hosted locally
What is MkDocs?
MkDocs is a fast, simple static site generator geared towards building project documentation. Documentation source files are written in Markdown, and configured with a single YAML configuration file.
This definition from the MkDocs website appealed to me as soon as I came across it, because it met the 4 needs listed above, so I decided to give this tool a try.
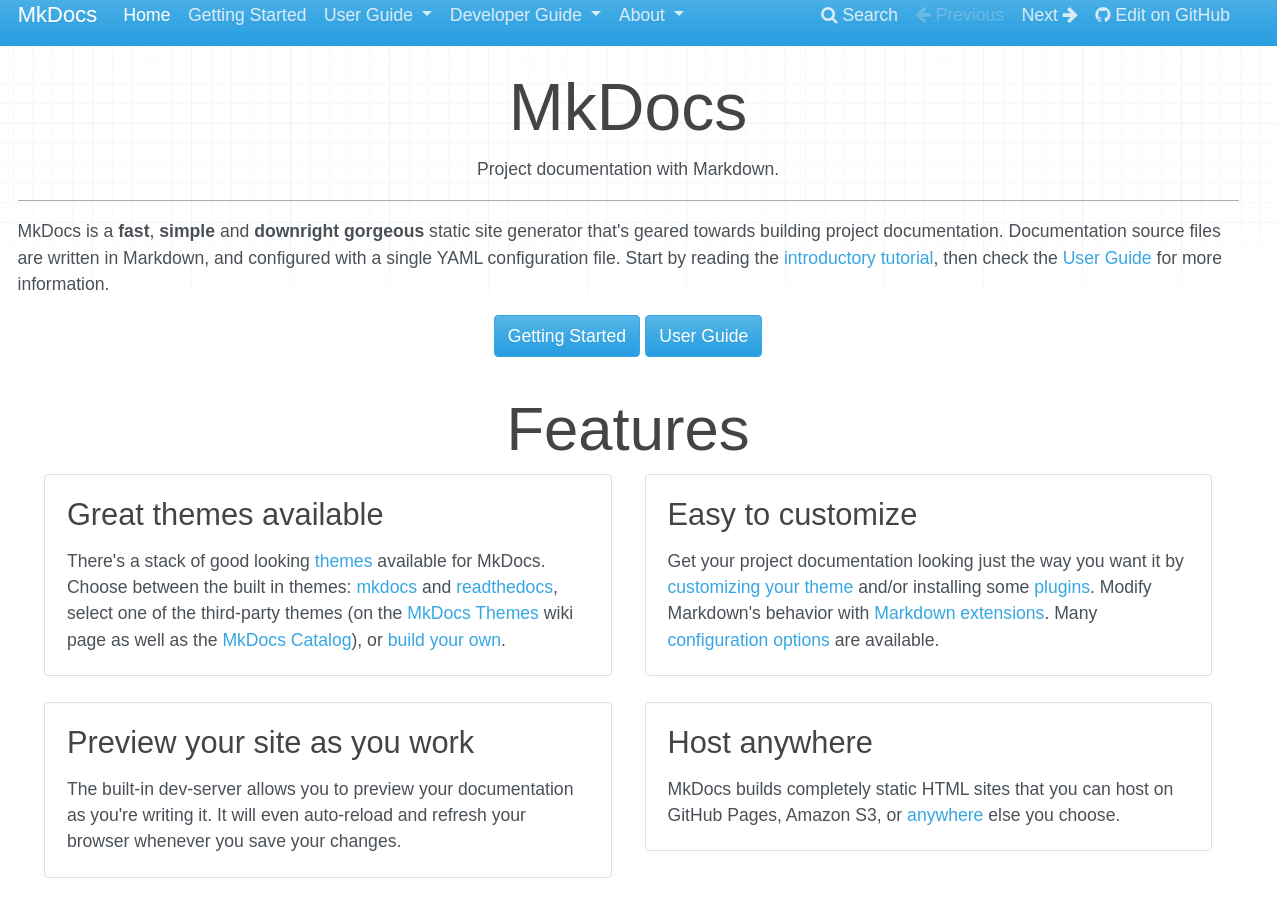
MkDocs site
The first version of my wiki used this tool. I used a Dockerfile to containerise the tool and use it locally without installing the mkdocs Python package.
The only downside of this tool is that the user interface is a bit hard on the eyes. That is what motivated me to find a theme!
Material
Material is a framework used on top of MkDocs that generates a static site customisable through a multitude of options, with the ability to add plugins as well.
It gives a very clean result while keeping configuration to a minimum, because many features are already built into the framework and a single line in the configuration file is enough to enable them.
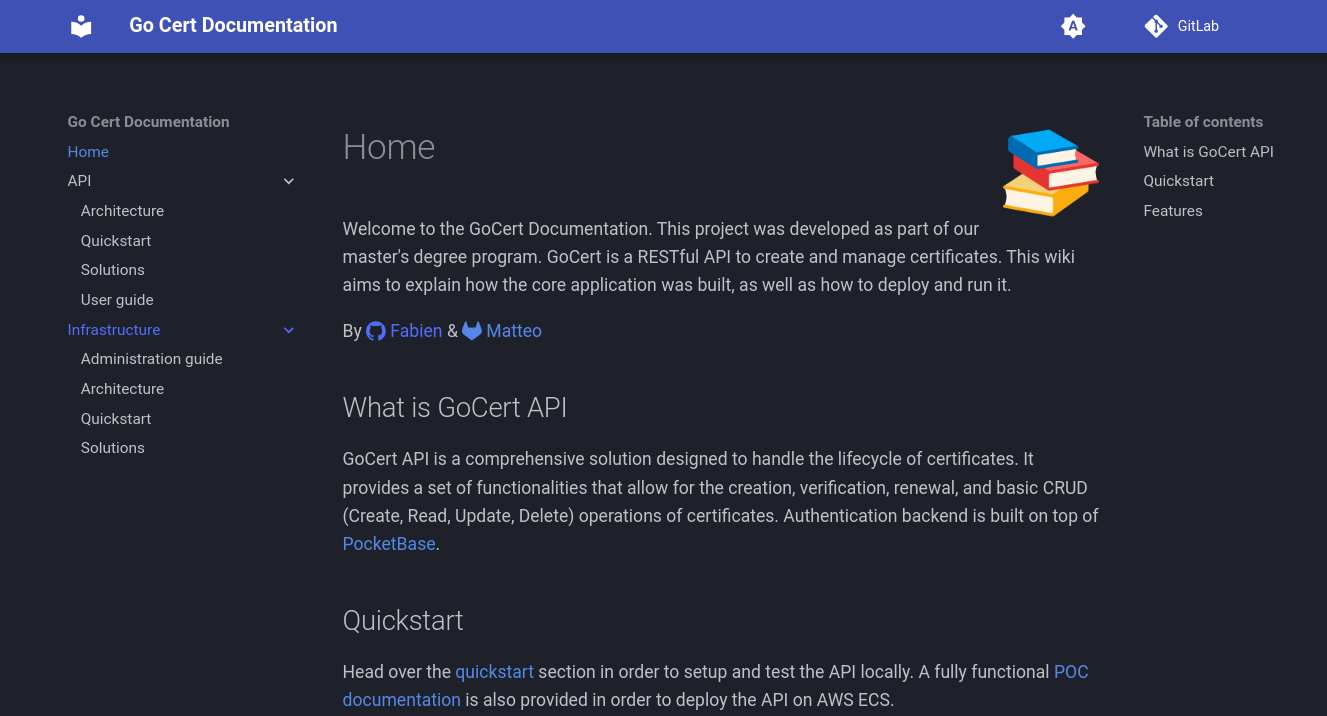
MkDocs example with Material
Setting up the wiki
To set up this tool, the Material documentation explains how to deploy it with the mkdocs utility or with a docker container. I went for the docker option, so that I can use this container in my different environments without needing the utility on all my machines.
First, you initialise the project to create the skeleton of the wiki. To do this, you pass the new . command to the docker container, which already has the mkdocs utility as its entrypoint.
| |
Once the project is initialised, you end up with the following tree:
| |
- docs: the tree of the wiki
- mkdocs.yaml: the wiki configuration file
Configuration
The wiki is configured through the mkdocs.yaml file at the root of the project. This is where you set the theme and the features you want, listed in the Material configuration documentation, as well as the Python extensions you want to use.
| |
In my case, I added several features, for example to copy code blocks, to have tabs per section name, or to choose between light and dark mode. I added the search plugin to get a search bar in my wiki.
I added Python extensions to use emojis and mermaid diagrams, and to add HTML/CSS classes to my Markdown blocks.
Adding content
The content lives under the docs/ directory: each folder is a section and each file is a page.
You can build a very modular structure with N sections, N sub-sections and N files per sub-section, or only create files. It leaves free rein to your imagination.
The folder name is the name of the section or sub-section, and for pages, the title is the file name, or the Markdown header (# Title1) if there is one.
| |
Deployment
For the deployment, I run this project locally in a docker container with the docker-compose.yml file, since I have no interest in hosting it on the web for now.
| |
Conclusion
I think adding this wiki to my toolbox will be more and more useful over time. All the knowledge I gather will be in one place, sorted by field. This gives me easy and quick access to information, which increases my productivity and reduces the time I waste.