Introduction
In my homelab, I recently worked on a project that let me create virtual machine (VM) templates on Proxmox using a combination of tools such as Packer, Cloud-Init and Terraform. The goal was to create VMs in an automated and repeatable way, while keeping manual steps to a minimum.
Context
Managing VMs and their configuration by hand can quickly become tedious, especially when deploying several instances with almost identical configurations every time. So I needed a solution to standardise this whole process and have a ready-to-use VM template to serve as the base for all my VMs.
In the rest of this article, I explain how I reached this goal with different tools, in order to streamline deployments in my homelab.
Components
- Proxmox: provides the infrastructure to run and manage virtual machines.
- Packer: automates the installation and configuration of the OS to produce a standardised image or template.
- Terraform: defines, provisions and manages infrastructure through declarative code.
- Cloud-Init: configures machines dynamically at first boot.
Packer
Packer is a community tool for creating identical machine images for several platforms from a single source configuration. To do this, Packer uses what are called builders, Packer components able to create a virtual machine template or image on a specific platform.

Packer logo
In my case, I simply use Packer on my Proxmox environment through its dedicated builder.
| |
Template configuration
This builder can either clone a virtual machine to turn it into a template (Proxmox-clone) or create a virtual machine template from a source ISO (Proxmox-iso). To meet my initial need, I use the Proxmox-iso builder. For the configuration, I used the builder’s documentation.
Example packer.pkr.hcl file:
| |
In this packer.pkr.hcl file, I give the builder the information about the target machine and its specifications for Proxmox, as well as the boot information (path of the ISO file, boot command, etc.).
Preseed file
The boot section gives the virtual machine, the future template, the path of the preseed.cfg file, served by a web server that Packer starts during the process. This file answers the questions asked during the OS installation, without having to type the answers by hand while the installation runs, which fully automates the installation. An example of this file is available in the Debian documentation.
Building the template
Once the configuration is ready, build the template with the Packer CLI using the commands below:
| |
The template is now present in Proxmox with all the characteristics I set in the packer.pkr.hcl file, and it is ready to be used for future virtual machine deployments.
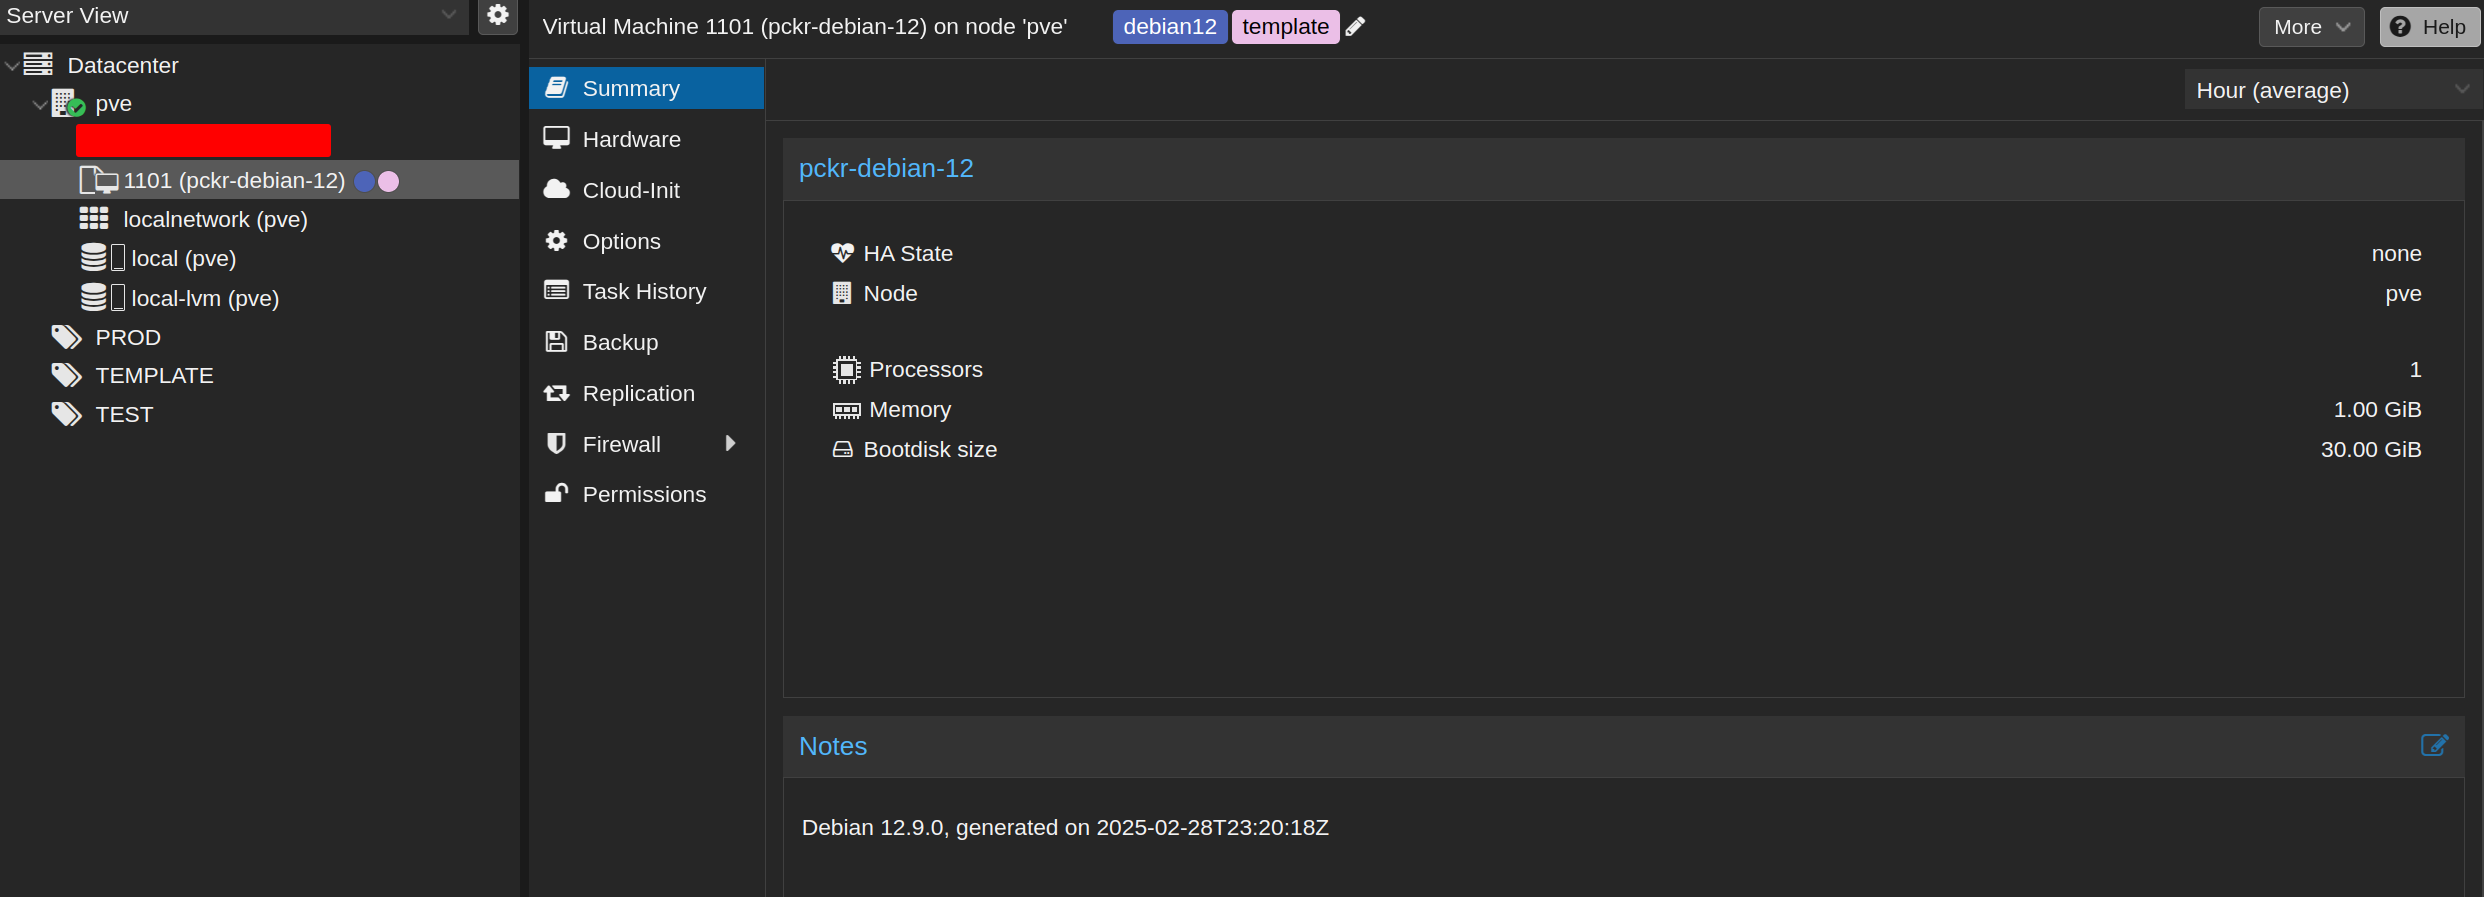
Template in Proxmox
Now on to the next step: dynamic configuration with Cloud-Init!
Cloud-init
Cloud-Init is an open source tool that automates the initial configuration of virtual machines at their first boot. Using configuration files (user-data and meta-data), Cloud-Init can perform various tasks such as creating users, injecting SSH keys, configuring the network or installing packages. This tool works with many cloud platforms and virtualisation environments, which makes it an agnostic way to customise instances dynamically without manual intervention.

Cloud-Init logo
Example user-data file:
| |
In my case, I chose to use cloud-init to:
- Disable SSH password authentication as well as the root account.
- Create a user with an authorised SSH key, passwordless sudo access and a locked password.
- Automatically update and upgrade the packages.
Once applied at the machine’s first boot, the machine is ready to use, and also ready to be provisioned with a tool such as Ansible. That was my goal, since I wanted to run my Ansible playbooks over an SSH key connection once the virtual machine was deployed, without copying my key by hand or having to log in with a password first.
Terraform
To deploy my virtual machine from my template and the cloud-init file, I chose to use Terraform. Terraform is an infrastructure as code tool, meaning a tool that lets you define your infrastructure through declarative configuration files in HCL (HashiCorp Configuration Language). To do this, Terraform relies on providers that handle communication with the underlying infrastructure. This method lets you manage infrastructure like code, which makes versioning and reproducible deployments easier.
These plugins expose resource types (create/modify resources) and data sources (read existing information) that let Terraform manage the infrastructure behind the plugin. Providers use the vendor’s SDK or API to carry out all the actions described in the Terraform configuration.

Terraform logo
For my homelab, I chose the bpg provider, a provider built by a community member that manages the whole Proxmox environment (resource pools, users, VMs, ISOs).
| |
To deploy the virtual machine from the template, with cloud-init for provisioning, I used the proxmox_virtual_environment_vm resource, which creates and manages a virtual machine with all the characteristics you pass to it.
Example Terraform resource for a virtual machine in Proxmox:
| |
In my case, the parameters I care about are:
- initialization: the cloud-init configuration, where I set the DNS configuration and the IP address of my machine, and give the ID of my cloud-init file, also managed with Terraform through the proxmox_virtual_environment_file resource
| |
- clone: the clone configuration, where I give the information about my template in Proxmox.
| |
I can then run my Infrastructure as Code project with the new resource added, and Terraform clones the template and gives it the cloud-init configuration to provision the virtual machine.
The result is a VM with a standard configuration that I defined to match my needs, ready to be provisioned with a tool such as Ansible.
Sequence diagram
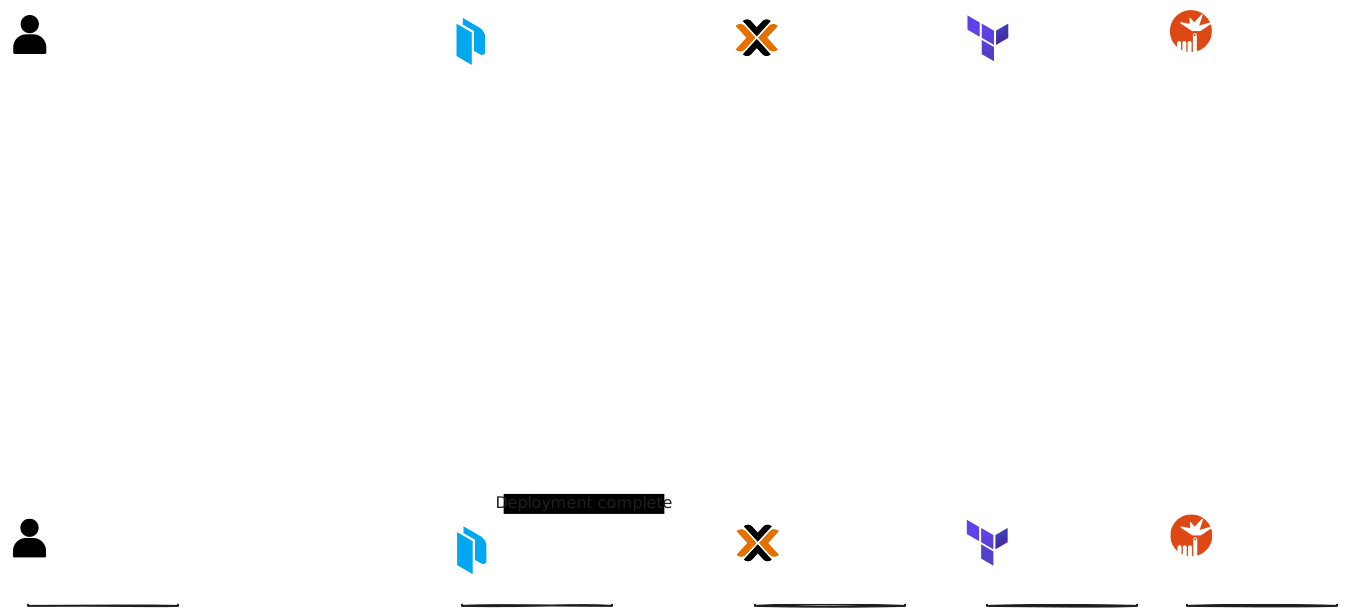
Sequence diagram
Conclusion
Setting up an automated process to create and deploy virtual machines on Proxmox with Packer, Cloud-Init and Terraform has made my homelab more efficient, reproducible and flexible.
This workflow standardises the environments, reduces the risk of manual errors and makes provisioning the machines with Ansible or other automation tools easier. With this solution, I can now quickly deploy ready-to-use virtual machines, while adapting their configuration to my needs.